Prepping the House for Market, from an Equestrian’s Perspective

Before I got into watching HGTV, I thought basically all you had to do to sell a house is tidy up a bit, and throw it on the market. From touring other houses, it’s fairly obvious that a lot of people out there think this, too.

But hours and hours of watching the Property Brothers and talking with realtor friends have vanished that notion. Instead, getting a house ready for market is a long and tedious project.

MMhmm, you're welcome.

MMhmm, you’re welcome.

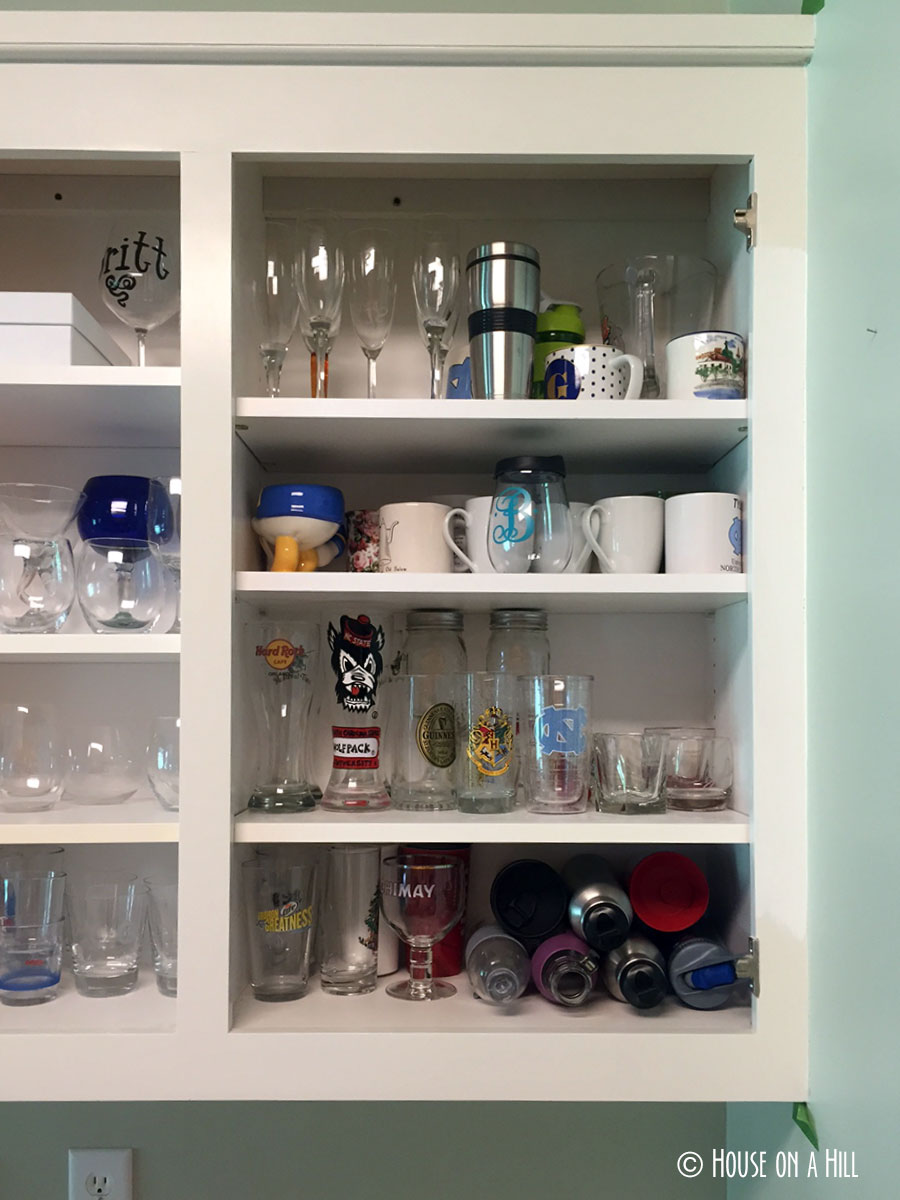
First, purge. Purge the closets of clothes, leaving the minimal amount of clothing you can get by on so the closet looks as big and airy as possible. Stuff approximately 20 pairs of breeches of varying ages into a tupperware and vow you’ll go through it later. Purge the garage of leftover yard supplies, but tidily stack those future chevron jump supplies in the corner. Be prepared for the SO to question the number of saddle pads you own. Grudgingly throw away the rattiest, ill-fitting pad you have in front of him then squirrel away the rest in another ambiguous tupperware. The purge process will also be an excellent time to discover last year’s blankets that you meant to wash. Take them to the cleaners- you don’t want potential buyers to confuse eau de horse with rotting dead body.

saddlepad

Next, put away all the photos. Yes, that means every show photo, no matter how badass you look running cross country, riding some spirited stallion through the water like Xena astride an aqua nymph. Trust me, your buyers don’t care. In fact, they may even think you’re weird.

watergallop

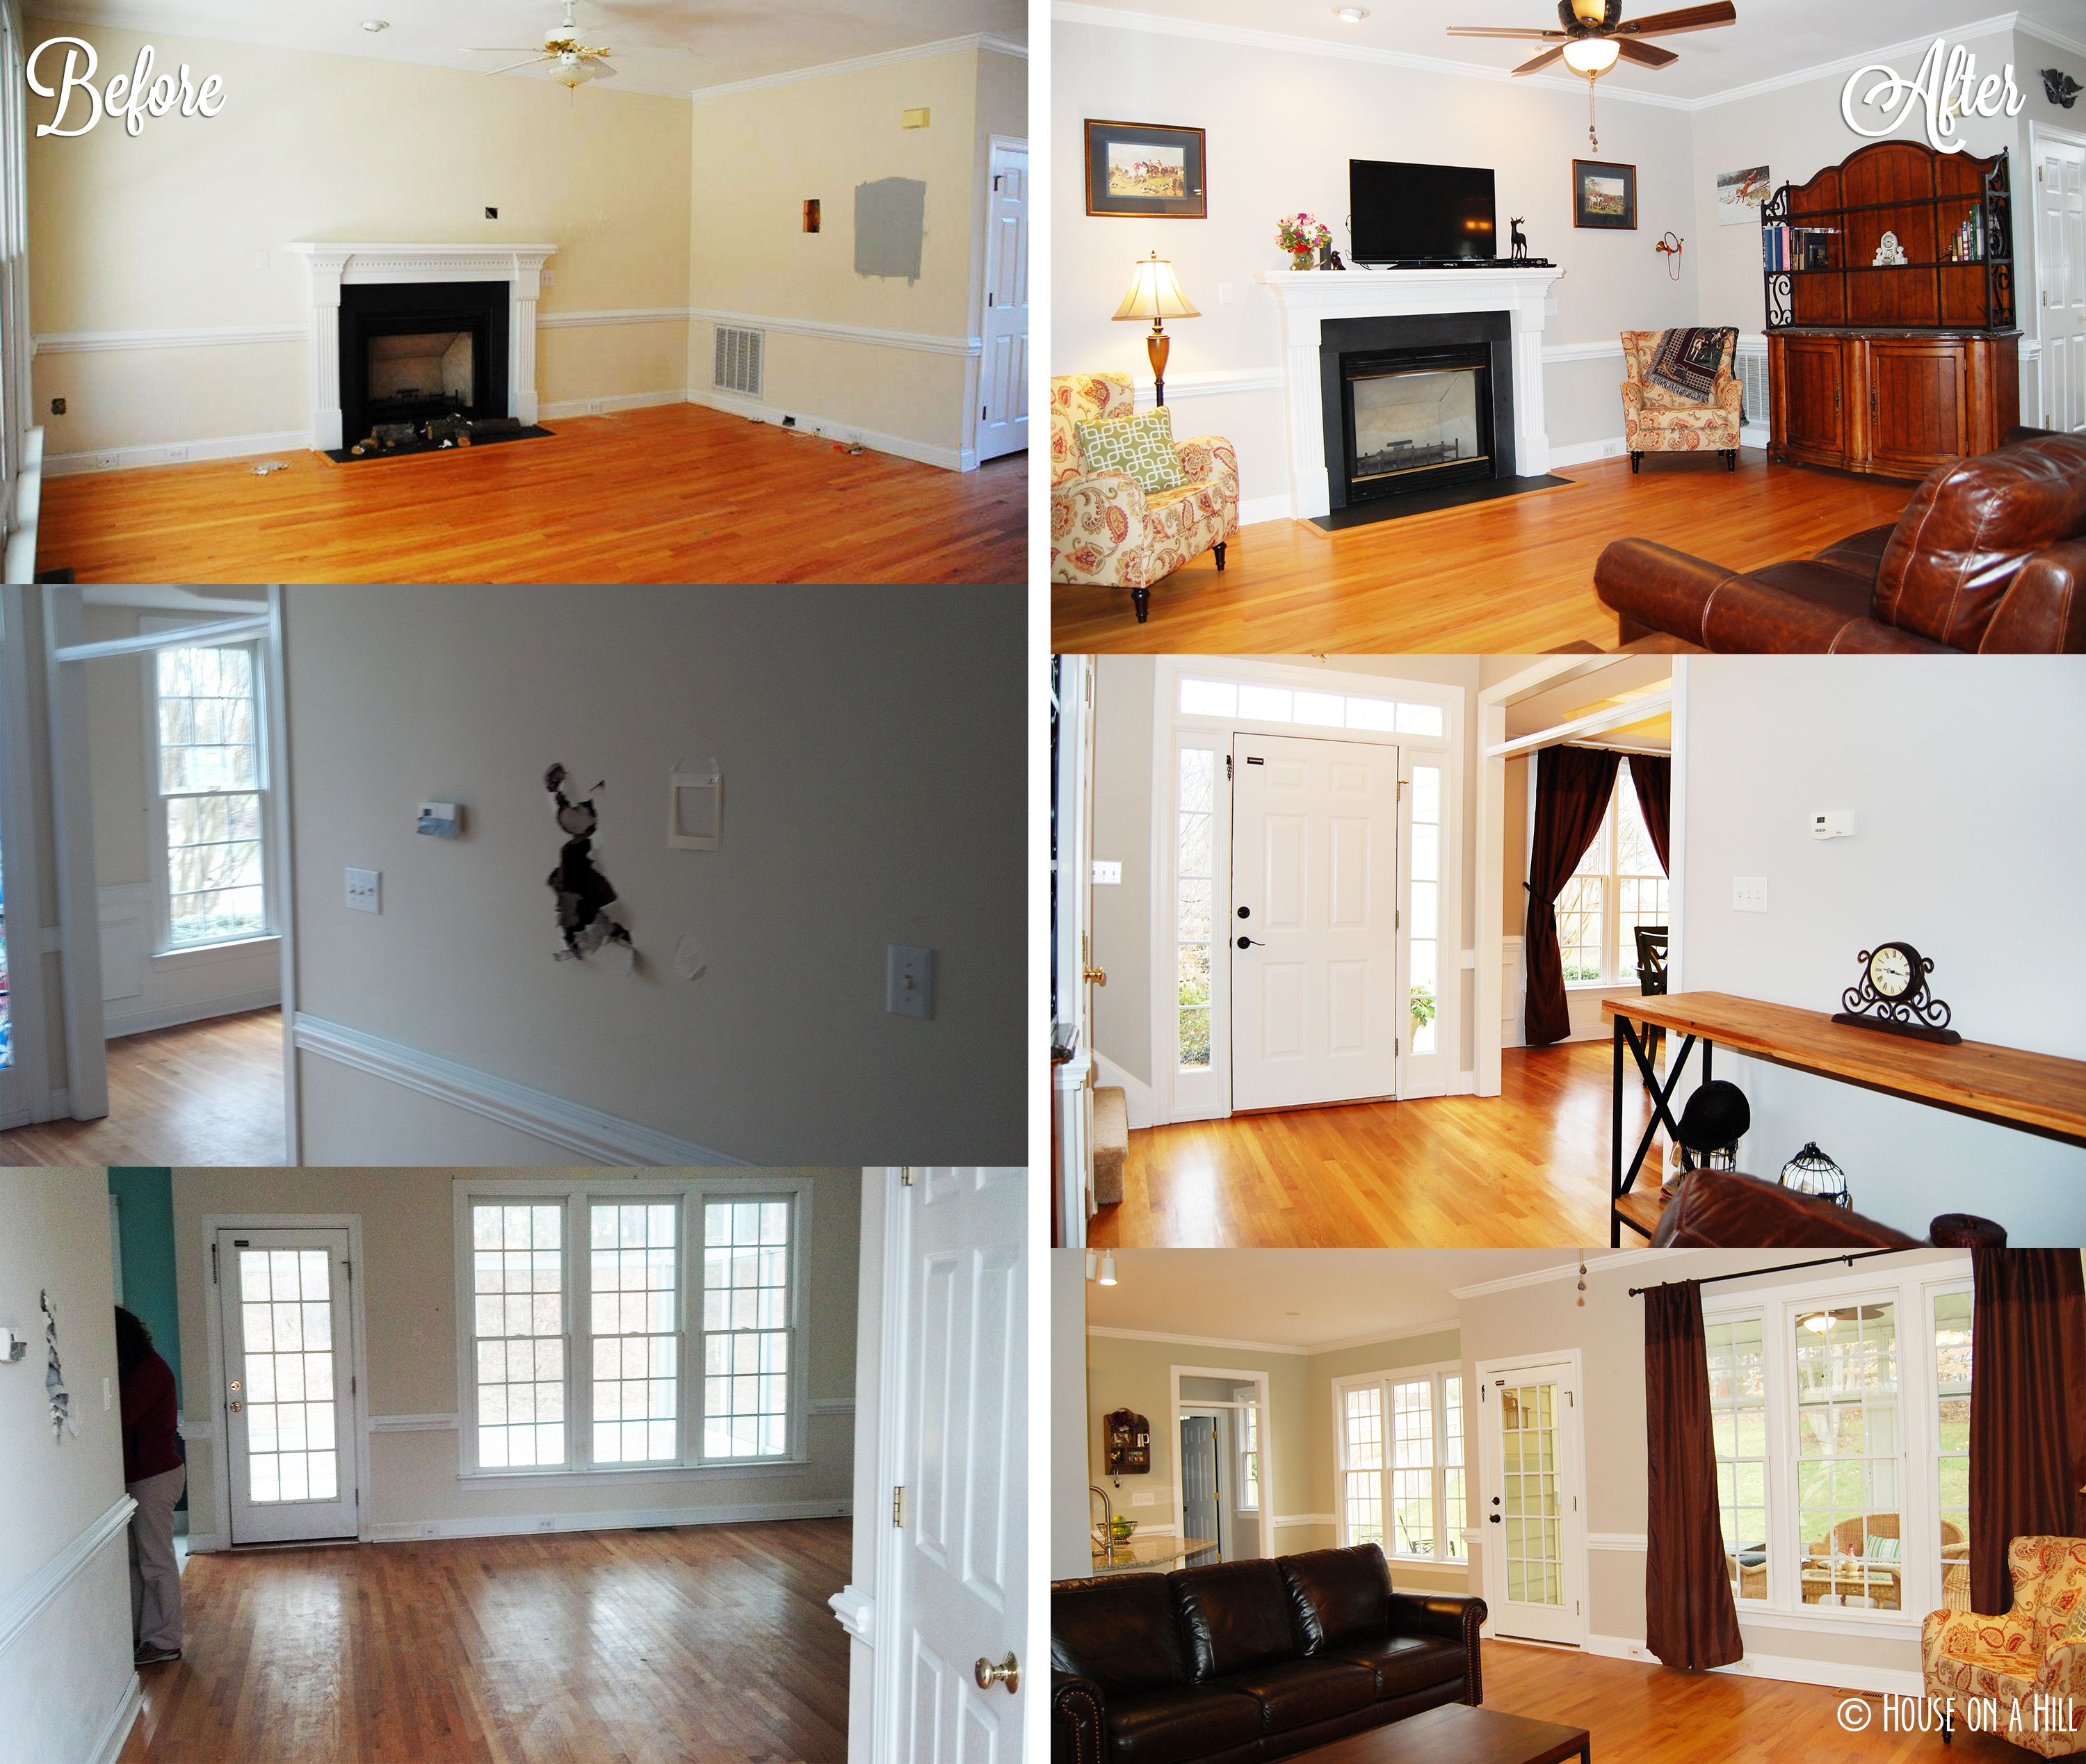
Question all the foxhunting artwork around the house. Ask your realtor if it can leave it up or if it will freak people out. Luckily, your realtor is also a crazy horse people an equestrian and says leave it.

No we're not crazy, we just like ponies

No we’re not crazy, we just like ponies

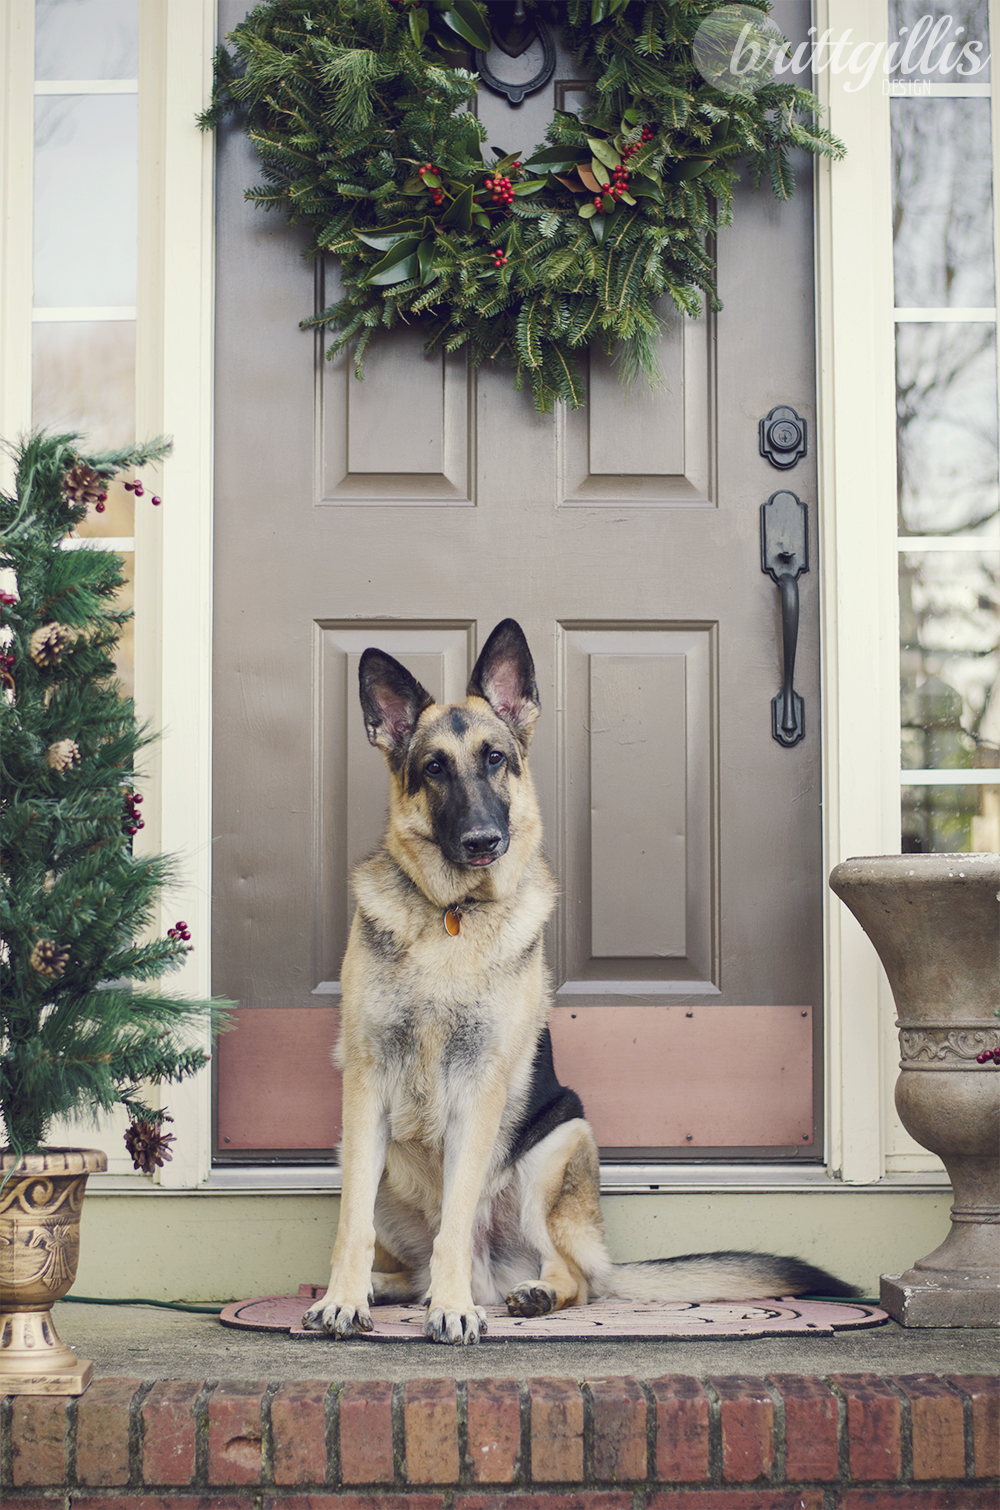
Purge again. Trust me, you didn’t throw away everything you could. Come across that Waterford Full Cheek you thought you returned ages ago. Use this opportunity to hide every evidence of pets. Hide the dog toys under innocent looking towels in a basket. Move the enormous dog bed to a hidden spot in garage, and place cat food and cat beds in the attic. Move litter boxes to a convenient place near a doorway where you can put them in your car when prospective buyers come.

Nope, no cats here!

Nope, no cats here!

That’s right, you’re going to take your cats and their shit with you every time a potential buyer comes to your house. Welcome to the cray.

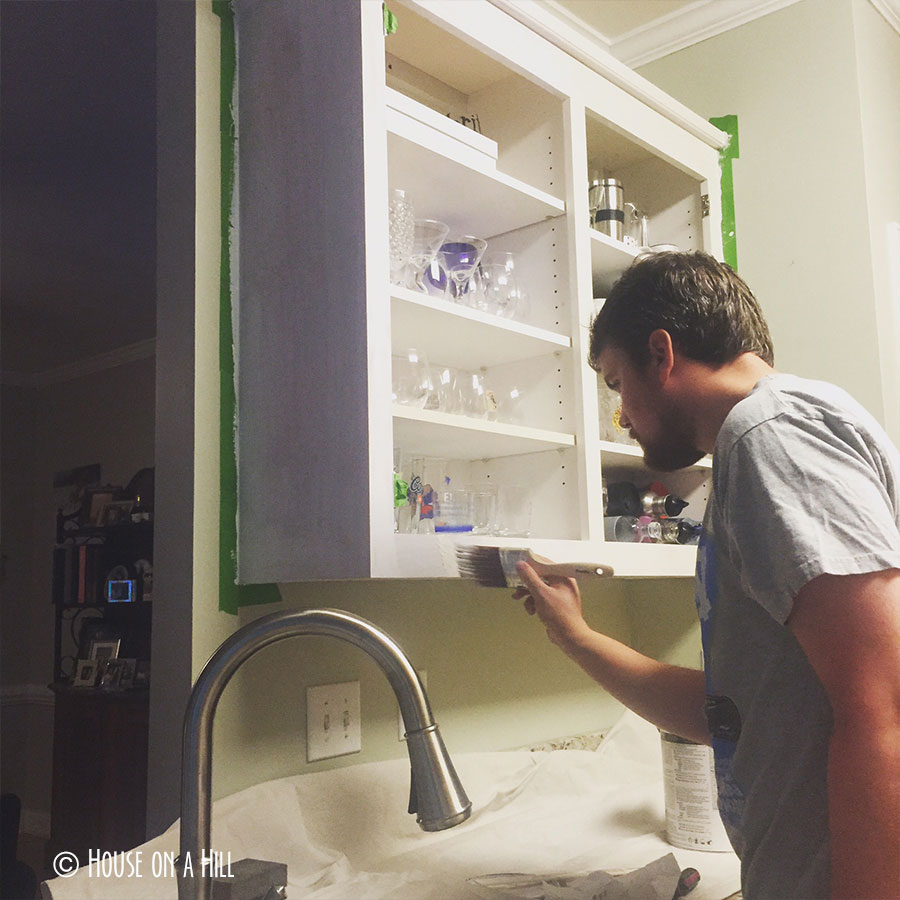
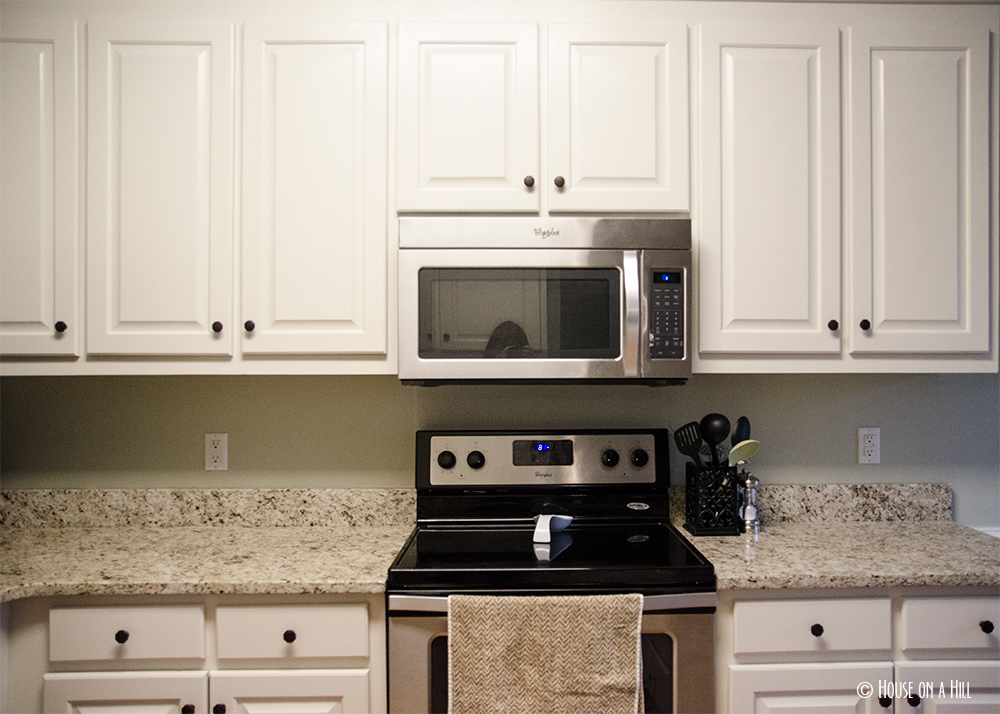
Now you can clean. Get down on those knees and scrub around every toilet, windex every remnant of dog snot off the windows, deep clean every red wine stain from the carpet. Lament the fact that the last time you put that much effort into cleaning it was your tack, for a recognized show, which sounds way more fun right now.

Then put your house on the market fast, because everyone knows ain’t nothin gonna stay clean for long.

Feel vindicated when 24 hours later you accept an offer, and pour yourself a glass of wine and toast yourself. You done good.

celebrate

10 Lessons Learned from the House on a Hill

  1. To Hell with linoleum.
  2. Daffodils look like weeds for 54 weeks out of the year
  3. Stenciling walls is cool in theory, but a massive time suck. Especially when you paint over it in the end.
  4. Everything can be made prettier with pillows.
  5. A fresh coat of paint can make all the difference.
  6. Meanwhile, wallpaper is overrated.
  7. Do not invest heavily in carpet or rugs, it is inevitable that red wine will be spilled on them.
  8. When in doubt, go light and bright rather than dark and dramatic.
  9. Furniture decisions are hard.
  10. Completing a vision we’ve had for 3 years… one of the most satisfying accomplishments of our lives.

The next house [on a hill]

So we wrapped up last week but having our offer on a new home accepted, and I think the husband and I are still trying to pick our jaws off the floor. Of course with these situations, nothing’s over until the paperwork is signed, but we’re still pretty stoked about how things are going so far. Once it’s all said and done I’ll be sharing pics- but here’s a hint- the blog’s name won’t have to change! 😀

Foster also moved to his hopeful-permanent home on Sunday, but not before taking some photos at our barn. He seemed to remember the barn (since he lived there for 3 years) immediately, since he started playing with the cross ties and licking everyone in sight. His Fosterparent took him on a trail ride and he was a very good boy, then we turned him out in a giant field where he immediately made friends with another gelding. Foster obviously loved having someone else’s face to nibble on and play with!

So now begins the two month trial period, and hopefully the life of a trail horse will suit Foster and the 3 of us (Foster, Fosterparent and I) will be thrilled.

_DSC0872


The House’s Big Bad Before and After Post: The Exterior Edition

When we first bought the house on the hill, the landscaping left something a lot to be desired. The place had obviously been vacant for some time, and the surrounding foliage had gone wild.

The house sits on .4 acres, and all but a tiny sliver was actually usable to us. Drake would disappear in the underbrush of the backyard so often we learned to just wait for his reappearance. I don’t have a wonderful picture of the original backyard, but you can get an idea of how dark and thick it was through the windows of this shot of the sunroom:

photo-2-9

Eventually we got in there with hand clippers and stripped all of the tiny trees and brush that we could, until we got to this point below. We then decided to take out a huge pine that would kill us in an instant were it to fall, and then the official re-landscaping began. Here are some in-progress photos of the backyard:

Yard_BeforeAfter

Another view of before and after

Another view of before and after

Now the entire backyard is grass, and we love how open and yet private it still is.

Now

Now

Besides the grass, we also took the time to install lattice and put mulch down around the little patio, making it feel more complete and less… unloved. This is one of my favorite places to sit in cool evenings with a book and watch Drake get his zoomies out in the yard.

Patio_Before_After

In the front we had a similar, if not worse disaster, given that all of the weeds and landscaping-gone-mad was firmly rooted in landscaping cloth. I kid you not, that stuff is meant to last and it is a PITA to get up. Many, many hours of sweat, blood, and tears later we turned it into a barren, but easily maintained pine-covered space.

frontyard

Last, but not least, is the house itself. The original light grey and bright blue shutters screamed 90s, and since it was due for a repainting, we went with a much warmer color scheme of green and brown, with ivory trim. This was another project that took forever (even though we hired people), but it’s another one that transformed the house on a hill.

exterior_beforeafter

I like to think that the neighbors are so much happier after we’ve made all our changes to the exterior of the property. It was a long time in the making, but I now think that someone else could easily fall in love with the place and hopefully want to make it their own!


The House’s Big Bad Before and After Post: First Floor Edition

So, folks, the end of an era is drawing near with this new lawn ornament:

IMG_2021

So, now seems a good a time as ever to go through the house with a summary before and after post. Starting with the first floor, which, like the rest of the house, was a bit rough when we first saw it.

living_beforeafter

As with most foreclosures, the former residents took some angst out on the house, and so drywall patching was a must. The top “before” picture is actually post-drywall patching, but you can still see evidence of the kicked in fireplace and log carnage. Otherwise, our changes were basically paint and fixtures. This color is called Sharkey Grey, and it’s such a nice, neutral griege that we used it through much of the house.

dining_beforeafter

Next up was the dining room, again just basic paint and fixtures. One thing we love so much about this house is the ample natural light- oftentimes I don’t even need to use electricity to see, which is definitely a bonus.

kitchen_beforeafter

Oh, the kitchen. Our biggest remodel in many ways. The absolute first thing to go was the hanging light in the nook, since the thing nearly decapitated us so many times and we simply didn’t feel the need for an eat-in kitchen table. Then the husband had the unfortunate task of taking down the wallpaper below the chair rail, an insanely tedious task that probably took over 6 hours to accomplish. Then fresh paint (Garden Shed by Martha Stewart), and new appliances. Following that we replaced the torn and dingy linoleum with hardwoods to match the rest of the house. Then those disgusting gold knobs got switched out for new hardware and we saved our pennies up for granite countertops. I can tell you how thrilled I was to replace that disgusting, stained ceramic sink! Finally, many, many man hours later, we finished painting the cabinets (White Duck by Sherwin Williams) and tada! Kitchen reno complete.

New paint, toilet, chrome fixtures, and black vanity

New paint, toilet, chrome fixtures, and black vanity

This one was also a total gut job (albeit much harder to photograph). We had to use two different professionals to take down the Mary Poppin’s carpet bag wallpaper, since the first one quit after 5 hours, saying he has never in his career seen wallpaper that hard to remove. The cabinet-style vanity got removed and a bit of drywall repaired, then we installed a new water-efficient toilet, vanity, and completed the bathroom with chrome hardware.

Out with the white, and in with the laminate!

Out with the white, and in with the laminate!

Last but not least, the sunroom. The husband hated this room when we first got the house, and I understood why- more stained linoleum, dinky white fan, etc etc. When we put in hardwoods we opted to finish this room out with laminate wood, and completed the space with a funky fan and wicker furniture. Now the space is a fun and inviting outdoor living area that we definitely enjoy!

It’s fun to go back and look at how much has changed since that first walk-through 3 years ago. It’s so nice to finally say that our vision is complete, and I desperately hope some buyer will quickly fall in love with the remodel!


2016 Goals

Now that the holidays (and my unintended blogging absence – sorry folks) are over, it’s time to look forward to all that 2016 has to offer. 2015 was a tumultuous year for Foster and I, and I’ve been hoping for a long time that 2016 will bring some redemption to us. So, without further ado, here’s what I hope to accomplish and strive for in the coming year.

fb_DSC8298

The Horse
Really this is a re-hash of our 2015 goals that weren’t accomplished due to unforeseen medical circumstances. However, I still hope to be successful in them, even if it’s a year later!

  • Here’s the big one! Move up to Training!
  • Increase strength in haunches through cavaletti work (2-3x/week)
  • Walk-Canter-Walk transitions
    • Lead changes
  • Completing a Second Level dressage test with a score over 63%
  • -new- Participate in at least one dressage clinic

The big caveat is that I won’t know how his fetlock will feel as we continue to recover. Jumping will remain to be the biggest question mark, and I’m determined to just see how it goes- if he tells me that he can’t do it, we’ll just have to focus on dressage domination instead.

kitchen

The House

  • Paint upstairs – hallway, study, State room
  • Wrap up giant handyman to-do list covering all sorts of small sins
  • Declutter in the extreme….
  • In order to put the house on the market!

Surprise!

One of the original goals for this house, and the reason we decided to take on all the challenges that purchasing a foreclosure brings, was that in selling the house we would be able to afford our dream home. Now there’s still a lot of kinks to be figured out, and probable changes to our plans, but come summer, the House on the Hill may be home to a family besides ours. Updates to come as they happen!

Documenting Fair Hill | PC: JP

Documenting Fair Hill | PC: JP

The Rest
Even though 2015 was an emotional roller coaster, I felt like I ended it in a better place than I started. I can only hope that I can say the same thing when we wrap up 2016. But until then, these are the goals that I have for myself.

  • Health
    • Eat less red meat
    • Make a dedicated effort to consider myself an athlete as a rider and take responsibility for staying in decent shape
  • Concentrate on photography and expanding my range of work
    • Complete 10-15 sessions this spring – my fingers are itching for that shutter button!
    • First newborn session!
  • Stay positive and keep calamities in perspective
Here's to many more memories in 2016!

Here’s to many more memories in 2016!

Well, there you have it! Here’s hoping that 2016 is a joyous and successful year for everyone! Happy new year!


2015 Goal Review

It’s almost the end of the year, which means that it’s time to look back at the goals I made in January and see how we’ve done!

Horse Goals

  • Here’s the big one! Move up to Training!
  • Increase strength in haunches through cavaletti work (2-3x/week)
  • Walk-Canter-Walk transitions
    • Lead changes
  • Completing a Second Level dressage test with a score over 63%
  • Get a 7 on a lengthening  completed 2/11/15

Bahahahahahahahaha…. goals. Ulcers knocked us out from February until about April. The only silver lining is that prior to this we did complete a winter clinic at the Carolina Horse Park, where you could say we moved up to Training, except that it didn’t include cross country- so I’m going to call that goal incomplete. We did however make great new contacts in Mr. Robert Costello, trainer extraodinaire, and also got a 7 in our first attempt at a judged lengthening, all at that outing.

firstoxer

In the short time between April and July when we were in full work, I can proudly say that Foster’s booty was strong. While some of this was cavaletti/ground pole related, a lot of it probably had to do with the more intense collected work we did, including starting to teach piaffe. I’m going to call that one a win.

piaffe

The rest, as you all know, is a wash. After a lesson at the end of June with Bobby C, Foster became NQR to downright lame. After throwing all kind of diagnostic tests at him we eventually discovered negative palmar angles and a bone chip in his front right stifle. Everything post August has been about recovering from surgery.

Personal 2015 Goals

  • Be a better competitor
  • Stop over-thinking the distance
  • Stop overthinking people
  • Lose 10 lb

Well- the first 2 obviously being horse related didn’t happen. So let’s look at the last couple. A couple months ago I had some minor health issues that put my anxiety through the roof, and finding a solution to [all of that] has been a major life-changer for me. So win on the ‘not overthinking people’ goal. Then happily, as a result of starting to ride again, sticking to a pretty low-carb/non-starch diet  change in my diet has allowed me to lose the 10 pounds as well.  I feel a lot better and have way more energy to boot- no more 2pm caffeine crash! Win.

A photo from our Christmas party this weekend- gotta love being surrounded by such fun horsewomen!

A photo from our Christmas party this weekend- gotta love being surrounded by such fun horsewomen!

House 2015 Goals

  • Granite kitchen countertop
  • Aerate + seed front and back yard
  • Paint upstairs hallway
  • Paint the NC State Room
  • Be better about blogging about the house!

Hey, look! Some big goals accomplished here- how about that. The kitchen finally got it’s complete makeover, in the form of both the granite countertops and something that wasn’t even on the list- painting the kitchen cabinets! All this has definitely provided some (in my mind) interesting house fodder for the blog- what do you guys think? The other painting projects got left behind as a result of focusing on the kitchen- but I see a roller in my future very soon!

kitchen_beforeafter

Overall
If I were looking at my goals list alone, it looks like a total failure. Our success rate is 42% –  not so hot by anyone’s standards. But, looking at the bigger picture, there are still some big accomplishments.

The silver lining of Foster’s situation is that I learned a lot more about what my horse takes to be healthy and happy (i.e, ulcer prevention techniques, icing after workouts, etc etc). By taking the time to really truly diagnose his NQR lameness, we discovered a bone chip, and by proactively doing surgery, are hopefully prolonging his career as a sporthorse. I can close 2015 by knowing I have done absolutely everything within my power to help him be successful in 2016 and years to come. And that’s a comforting feeling.

My sweet boy in his pre-surgery photoshoot

My sweet boy in his pre-surgery photoshoot

The house has undergone huge changes, and bar several small projects, feels done. The culmination of this was our Christmas Party this weekend, when everyone finally got to see the kitchen in all it’s madeover glory, and truthfully, it made me so proud to think of all the husband and I have accomplished. It’s been a wild 2.5 years, and the end is in sight!

Front of house

A full before and after House post coming in 2016!

And then there’s those pesky personal goals. I didn’t get a chance to improve my overall competitor attitude, but the year’s challenges have (I think) made me a better horsewoman. Certainly someone more knowledgeable about little things like bone chips and ulcers, at the least. I’ve made changes in finding a better me as well, though that will certainly always be a work in progress.

Fair Hill

2015- another year of changes, challenges, and a little cheer. 2016 – looking to you to be a year of happiness and success!

Christmas Chores

This weekend we at the House on a Hill are hosting our annual holiday party. I absolutely love playing hostess, and get a sick sort of pleasure from the rush to complete myriad little projects before the big event.

Such projects have thus far included finally painting up the dinged bathroom cabinets, trim, and doors in the guest bathrooms:

guestbath

Scrubbing the entry railings and trim so it’s free of green dust:

web_DSC0722

And then some more mundane tasks, like mowing the grass, spreading fresh pine straw, and clearing all of the boxes used to support painted cabinet doors from the garage.

web_DSC0709

Taking time away from chores for a quick shoot with my favorite model

It all probably sounds very tedious, but I suppose that’s one of the pleasures of being a homeowner- while you have a lot of responsibility, you can take great pride in the work that you’ve done.

Coming soon- a Christmas decor photoshoot from the house on a hill!

The House: Kitchen Cabinet Makeover

It’s done!

Finally, I can share with you our kitchen cabinet makeover- a work in progress over the last couple months. It’s taken that long because the husband and I limited ourselves to weekends, and what with traveling, weddings, etc, well.. it just took some time. (To see the first transformation – and original state of the kitchen – click here)

Before (Post granite countertops)

Before (Post granite countertops)

We I (he could have cared less) chose the color White Duck by Sherwin Williams. This was potentially the most frustrating part of the process for me, as I spent a lot of time second-guessing myself before finally committing to the color. Our kitchen has so much natural light that I was afraid to go for a bright white because it might look sterile. But in the end, even though the swatch looks hella dark, the cabinets read as white without feeling like a hospital room.

white duck paint

Worrying over White Duck included painting another swatch (right side of cabinet) to prove I wasn't crazy

Worrying over White Duck included painting another swatch (right side of cabinet) to prove I wasn’t crazy

After much research on the interwebs, and talking to friends who have undergone cabinet makeovers themselves, we settled on a process. We decided to split the kitchen into manageable sections and complete each section at a time. Living with 2 cats and a dog, this allowed us to keep our sanity- we would only have to cordon off one part of the room, and for the most part our pots and pans would be protected from roving noses and paws, by being shifted to other parts of the kitchen.

Shifting around kitchen contents

Shifting around kitchen contents

After that, the process was fairly straightforward. For each section, we

  1. Washed the surfaces to get rid of grime and dust (we just used dish soap and warm water)
  2. Sanded with a rough grit paper (and wiped down)
  3. Taped off the area
  4. Primed
  5. Sanded with a fine grit paper (and wiped down)
  6. Painted (x 4 coats, always at least 4 hours between each coat, inspecting for any bumps in between and always sanding lightly before/after the last coat)
Master of the brush

Master of the brush (my weapon of choice – the roller. Also the tack cloth)

The preparation for each section (washing through priming) is the most time intensive piece, whereas actually painting, even given the husband and I’s obsessive carefulness (heaven forbid any drips or hairs get in the paint!) went by fairly quickly. For the doors, we were careful to label the hardware and keep everything organized, since we were warned that matching hardware to its original door can be a bear. Then it was a matter of painting the back of the door, followed by the cabinet frame, and then if the doors were dry enough, flipping them and doing their fronts.

Our cabinets were not in the best shape, but definitely showing wear and tear

Our cabinets were not in the best shape, and definitely showing wear and tear

The tools of the trade that we employed included:

  • 2 Tack cloths
  • Lots of sanding blocks in rough and fine grit
  • Goodness knows how many paper towels for wiping down dust
  • Medium quality angled brush for priming
  • Roller for priming
  • High quality non-shedding angled brush for painting
  • High density foam roller (6″) for painting
  • Drop cloth (safety note: this thing is slippy as shit on a hardwood floor, and if you walk over it without thinking, you may bust your a$$)
  • Paint & Primer

All in all I would guess these materials cost us $150, well worth it considering that the quote we received for having the job done professionally, it would have cost more than our granite countertops! If I were to give any piece of advise for someone looking to do this themselves, it would be this- do not scrimp by with cheap brushes. They will shed, they will leave brush strokes, and you will go crazy picking out or trying to sand off hairs afterwards. Even though I invested in high quality brushes, hairs occasionally happened, and noticing any kind of fiber embedded in a dry coat of paint will drive you to insanity.

cabinetdetail

After finishing, we laid liner inside the cabinet interiors that needed painting (mostly where the pots/pans go, where large stains were present) to protect the surface and I took the opportunity to reorganize the contents of drawers and cabinets. Overall, I am thrilled with the results. The kitchen feels so much brighter and clean, but the white is soft enough so as to blend with the rest of our neutral palette. We saved ourselves thousands of dollars, and though it was a ton of work, the house feels so refreshed as a result- totally worth it!

kitchen_beforeafter

cabinet_fronts

kitchen


Just a quickie

.. to say that this week is crazy, and since hand grazing really doesn’t product the best horse-related content, I don’t have much to share this week. Well, except some photos coming Friday of a certain wildly-acclaimed equestrian venue.

Likit carnage

Likit carnage

As predicted there was nothing left to Foster’s likit on day 2. Thank you to all that left comments with boredom buster ideas- I will definitely be looking at some of these and will share results.

Otherwise, life has been revolving around work (mostly) and painting cabinets. We’ve decided to tackle the cabinets in sections so as to not pull apart our entire kitchen at once. But, doing it this way also means that they will take that much longer as we spread the workload out. I’m doing my best not to bite off more than I can chew. The husband recognizes the crazy look I get in my eye when I look at the splendor of the already-painted cabinets, and admonishes me that we are going to take our time. He knows me too well, damnit.

Foster gets his sutures out tomorrow afternoon and an HA injection, and I’ll have a better update next week on how things are looking. More interesting posts to follow!