
It’s done!
Finally, I can share with you our kitchen cabinet makeover- a work in progress over the last couple months. It’s taken that long because the husband and I limited ourselves to weekends, and what with traveling, weddings, etc, well.. it just took some time. (To see the first transformation – and original state of the kitchen – click here)

Before (Post granite countertops)
We I (he could have cared less) chose the color White Duck by Sherwin Williams. This was potentially the most frustrating part of the process for me, as I spent a lot of time second-guessing myself before finally committing to the color. Our kitchen has so much natural light that I was afraid to go for a bright white because it might look sterile. But in the end, even though the swatch looks hella dark, the cabinets read as white without feeling like a hospital room.

Worrying over White Duck included painting another swatch (right side of cabinet) to prove I wasn’t crazy
After much research on the interwebs, and talking to friends who have undergone cabinet makeovers themselves, we settled on a process. We decided to split the kitchen into manageable sections and complete each section at a time. Living with 2 cats and a dog, this allowed us to keep our sanity- we would only have to cordon off one part of the room, and for the most part our pots and pans would be protected from roving noses and paws, by being shifted to other parts of the kitchen.

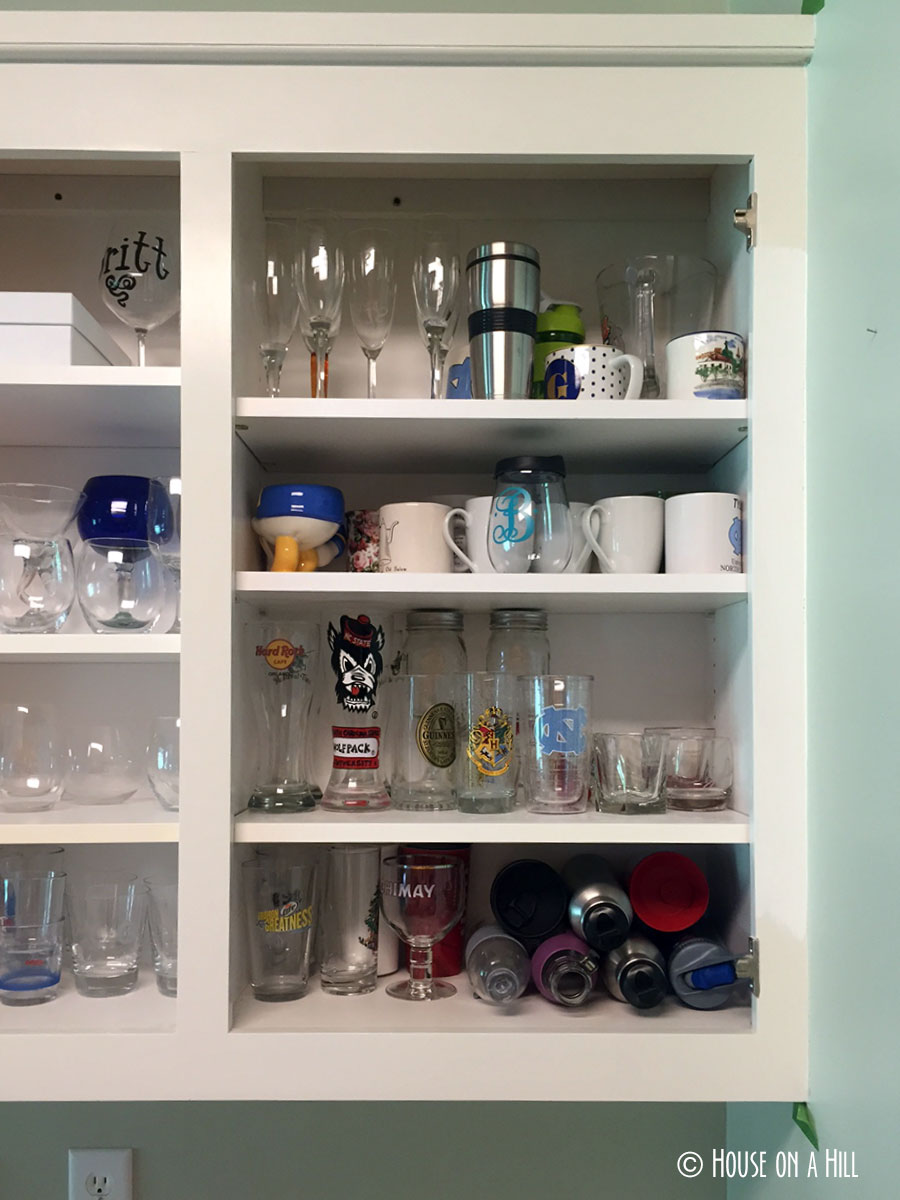
Shifting around kitchen contents
After that, the process was fairly straightforward. For each section, we
- Washed the surfaces to get rid of grime and dust (we just used dish soap and warm water)
- Sanded with a rough grit paper (and wiped down)
- Taped off the area
- Primed
- Sanded with a fine grit paper (and wiped down)
- Painted (x 4 coats, always at least 4 hours between each coat, inspecting for any bumps in between and always sanding lightly before/after the last coat)
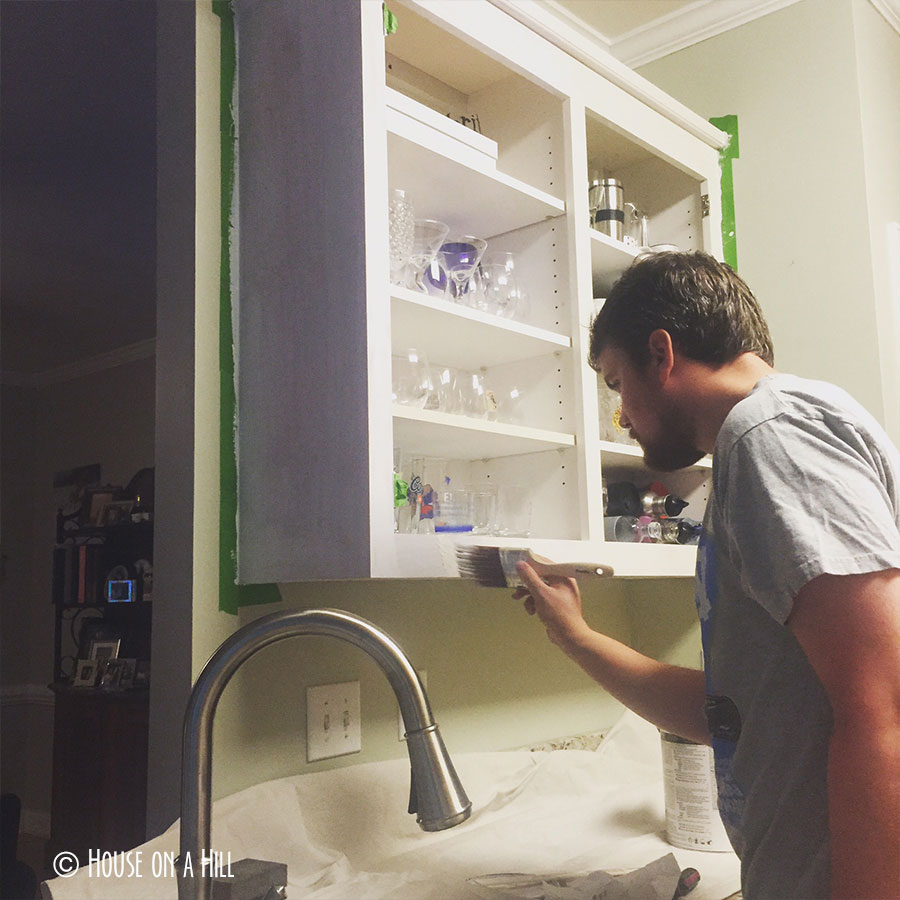
Master of the brush (my weapon of choice – the roller. Also the tack cloth)
The preparation for each section (washing through priming) is the most time intensive piece, whereas actually painting, even given the husband and I’s obsessive carefulness (heaven forbid any drips or hairs get in the paint!) went by fairly quickly. For the doors, we were careful to label the hardware and keep everything organized, since we were warned that matching hardware to its original door can be a bear. Then it was a matter of painting the back of the door, followed by the cabinet frame, and then if the doors were dry enough, flipping them and doing their fronts.

Our cabinets were not in the best shape, and definitely showing wear and tear
The tools of the trade that we employed included:
- 2 Tack cloths
- Lots of sanding blocks in rough and fine grit
- Goodness knows how many paper towels for wiping down dust
- Medium quality angled brush for priming
- Roller for priming
- High quality non-shedding angled brush for painting
- High density foam roller (6″) for painting
- Drop cloth (safety note: this thing is slippy as shit on a hardwood floor, and if you walk over it without thinking, you may bust your a$$)
- Paint & Primer
All in all I would guess these materials cost us $150, well worth it considering that the quote we received for having the job done professionally, it would have cost more than our granite countertops! If I were to give any piece of advise for someone looking to do this themselves, it would be this- do not scrimp by with cheap brushes. They will shed, they will leave brush strokes, and you will go crazy picking out or trying to sand off hairs afterwards. Even though I invested in high quality brushes, hairs occasionally happened, and noticing any kind of fiber embedded in a dry coat of paint will drive you to insanity.

After finishing, we laid liner inside the cabinet interiors that needed painting (mostly where the pots/pans go, where large stains were present) to protect the surface and I took the opportunity to reorganize the contents of drawers and cabinets. Overall, I am thrilled with the results. The kitchen feels so much brighter and clean, but the white is soft enough so as to blend with the rest of our neutral palette. We saved ourselves thousands of dollars, and though it was a ton of work, the house feels so refreshed as a result- totally worth it!

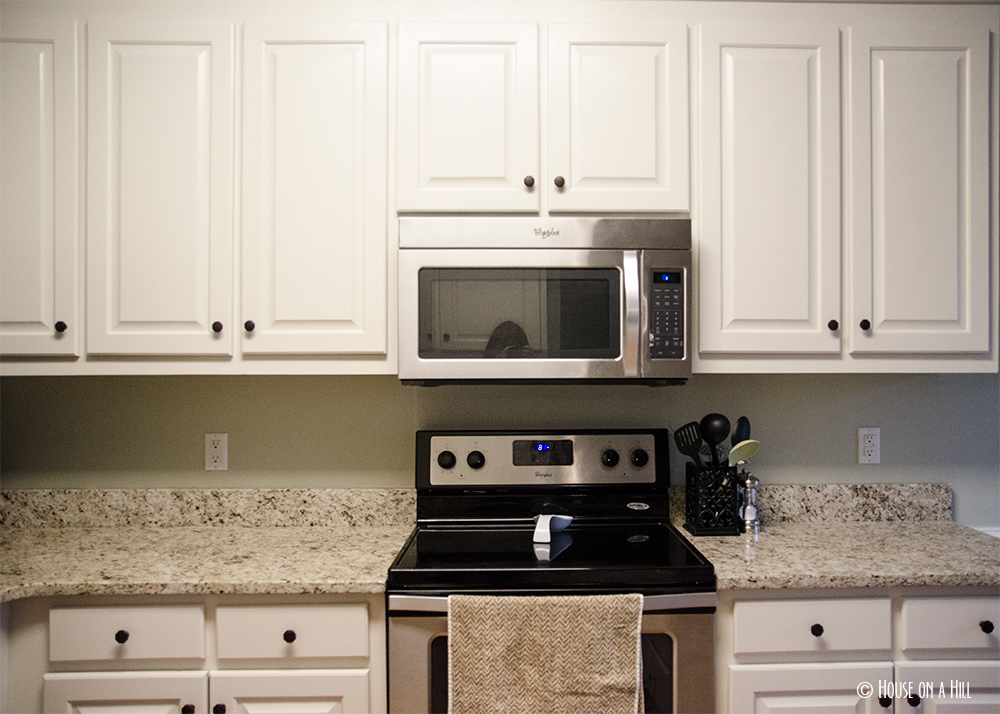


What a difference! It looks amazing.
Thanks! It gives me great pleasure to look at the before and after- though now I’m kicking myself for not photographing the original kitchen, laminate flooring and all!
Wow, that looks great! It would have been so hard for me not to rush through something like this and cut corners. You can tell you took your time and it totally paid off!
Thanks! It was definitely tempting at the end to kind of rush through- Tyler ended up being my conscience there and insisting we finish it out the right way.
Your house is so gorgeous! I wish I had your decorating chops. (I don’t. I’m a total muggle at colors and stuff.)
Aww shucks!
Must be osmosis from all those hours sporadically watching HGTV in college 🙂
Wow! Beautiful!
Thank you! 🙂
It looks great!!! I don’t think my husband would be interested in a DIY. We aren’t especially handy…
I wouldn’t say this project required any special skillset.. just a lot of man hours and attention to detail- y’all could totally take it on!
Looks amazing!
Thanks!
Looove that color, it looks so nice!
Thanks!! Now that it’s all done, I love the color too.. was a bit suspicious in the beginning though, ha!
This looks SO good!
Thank you! Very pleased with the results!
LOVE it! It looks great 😀
😀 Thanks!!
It looks so much more modern and clean with the white. It’s weird to me ho that swatch looks so tan, but the cabinets do like white once painted. Which is why I am terrible at picking out paint colors.
I know, light will really play tricks on you!
If it makes you feel better I took an entire semester just to study Color Theory.. and even still I had to convince myself I was choosing the right color!
that turned out beautifully ! must be so rewarding to look at it and know that you did it well AND saved all that cash haha
Oh my gosh yes- all those dollars still safely in the bank, and not in my kitchen!
Until they get used on the pony, of course!
Yay! I knew I was in for a good makeover when I saw your post on FB! Love it!
Eeee! 😀 Thanks!
So pretty!! Now come do ours. It’s only the bottom half. The people we bought it from did all the upper cabinets themselves. I guess they wanted to leave one “fun” makeover project for us to do ourselves?
Haha- if that’s the case the former owners of our place thought they were doing us one hell of a favor… fun projects everywhere! 😀
Lovely! They look awesome 🙂
Thank you!
Pingback: 2015 Goal Review | A House on a Hill
Pingback: The House’s Big Bad Before and After Post: First Floor Edition | A House on a Hill
Pingback: 10 Lessons Learned from the House on a Hill | A House on a Hill